Deleting a resource group
To delete a resource group, complete the following steps on the portal:
- On the Resource groups blade, select a resource group to be deleted, as illustrated in the following screenshot:
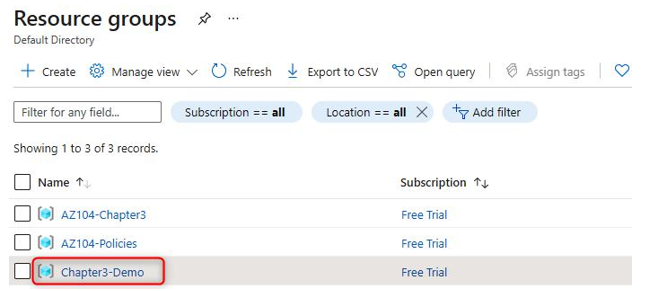
Figure 4.8 – Selecting a resource group
Managing resource groups 99
Top Tip
Deleting a resource group is a quick and easy method of deleting all your resources deployed to that group.
- On the Overview blade, click Delete resource group and enter the resource group name in the TYPE THE RESOURCE GROUP NAME: dialog box, then click Delete. The process is illustrated in the following screenshot:
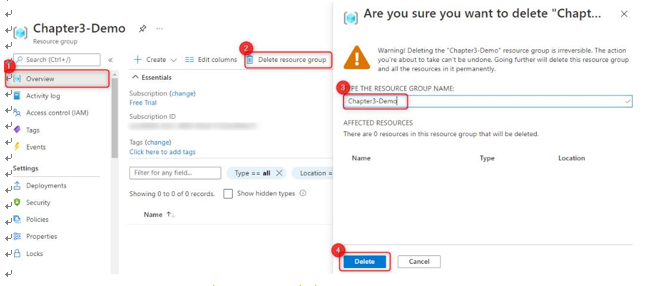
Figure 4.9 – Deleting a resource group
- You will receive a notification that the resource group has been successfully deleted, as illustrated in the following screenshot:
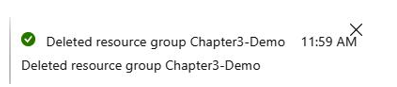
Figure 4.10 – Resource group deletion notification
You have now learned the process behind deleting resource groups. In the next section, we will look at some PowerShell scripts to accomplish resource group creation tasks.
PowerShell scripts
This section introducesPowerShell scripts that can be used for the automation of resource group management, as well as for quicker administration times. Please ensure that the Az module is installed, as per the Technical requirements section at the beginning of the chapter. Then, proceed as follows:
• Create a new empty resource group. Define a location and name for the new resource group to be deployed, as follows:
New-AzResourceGroup -Name RG01 -Location “West Europe”
• Create a new empty resource group with tags. Define a location, a name, and tags for the resource group, as follows:
$tags = @{“Tag1″=”Value1”; “Tag2″=”Value2”}
New-AzResourceGroup -Name RG01 -Location “West Europe” -Tag $tags
That brings this section to an end. In this section, we have learned about what resource groups are, why they are necessary, the metadata and effects of this, and how to deploy a resource group.
Further reading
We encourage you to read up further by using the following links:
• Managing resource groups: https://docs.microsoft.com/en-us/ azure/azure-resource-manager/management/manage-resource-groups-portal
• Moving resources to other resource groups or another subscription: https:// docs.microsoft.com/en-us/azure/azure-resource-manager/ management/move-resource-group-and-subscription
Configuring resource locks
You can apply locks to a subscription, resource group, or resource to prevent other administrators from modifying or deleting resources. You can set lock levels to CanNotDelete or ReadOnly to override permissions that users have, even for administrators. Of the built-in roles, only Owner and User Access Administrator can create or delete resource locks.
The locks are explained as follows:
• CanNotDelete locks deny authorized users from deleting resources but still allow the ability to read and modify resources.
• ReadOnly locks grant authorized users the read permissions to resources only. This means that they can’t add, delete, or modify resources. The effect is similar to the Reader role.
Unlike RBAC, you use management locks to apply a restriction across all users and roles. It is important to note that when applying resource locks the law of inheritance applies, meaning that all resources inherit the lock from the parent scope. The parent scope will be from the highest level of resources in the Azure hierarchy to the resource level, meaning that we can go from subscription down to resource groups down to resources; the parent will be the level at which the lock is applied.
Top Tip
When applying locks, it’s important to understand that the precedence assigned is based on the most restrictive lock that is inherited.
