Importing into an Azure job
After disks are shipped to Azure, you can create an import or export job from the Azure portal. The import process flow for Azure import/export looks like this:
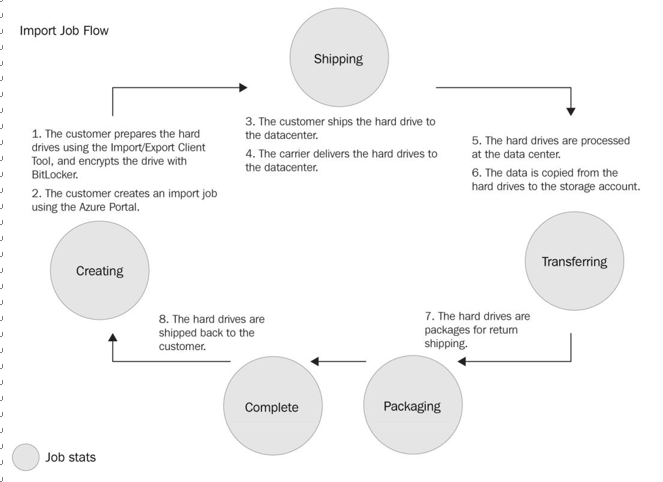
Figure 6.14 – Import process flow
Therefore, you have to take the following steps:
- Navigate to the Azure portal by opening https://portal.azure.com.
- Enter import in the search bar at the top of the portal and click Import/export jobs, as illustrated in the following screenshot:
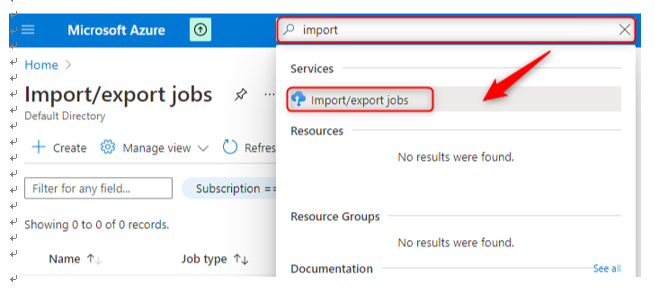
Figure 6.15 – Searching Import/export jobs
- Click Create import/export job, as illustrated in the following screenshot:
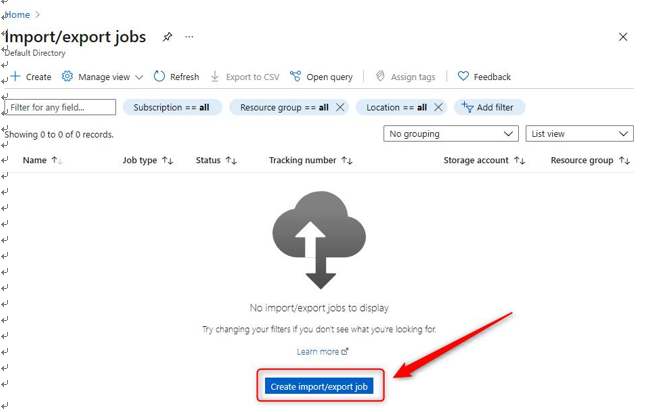
Figure 6.16 – Creating an import/export job
- In the next blade, select Subscription and Resource group values and enter a Name value for the import/export job (we will use az104labimport). Set Type to Import into Azure, and select a Destination Azure region value. Then, click Next : Job details >. The process is illustrated in the following screenshot:
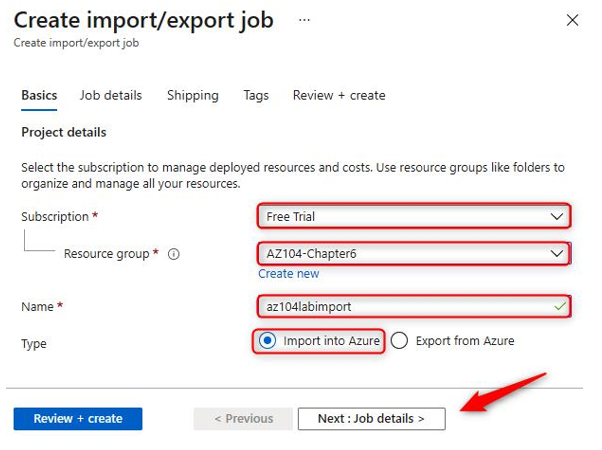
Figure 6.17 – Creating an import job
- Complete the details as per the following screenshot, selecting your journal file. Click Next : Shipping >:

Figure 6.18 – Creating an import/export job: Job details tab
- Enter your shipping details and click Review + create.
- Once validation has passed, click the I acknowledge that all the information provided is correct and agree to the terms and conditions above checkbox, and then click Create.
You have completed the import job process, so we will now review the process for performing an export job from Azure.
Exporting from an Azure job
There are two other files created as well—an .xml file and a drive-manifest.xml file. You need these files later for creating an import/export job. The disk is now ready to be shipped to Azure. After the disks are shipped to Azure, you can create an import or export job from the Azure portal.
The export process flow for Azure import/export looks like this:
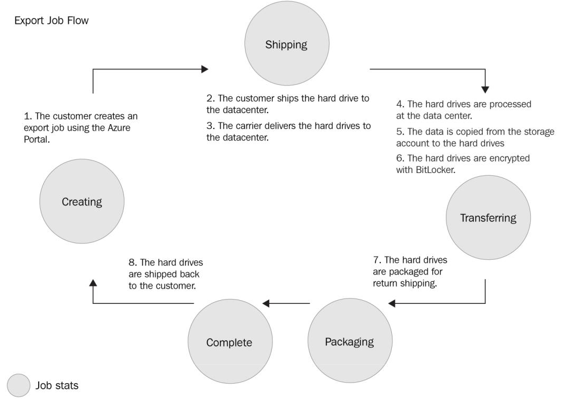
Figure 6.19 – Export process flow
Therefore, you have to take the following steps:
- Navigate to the Azure portal by opening https://portal.azure.com.
- Enter import in the search bar at the top of the portal and click Import/export jobs.
- Click Create import/export job.
- In the next blade, select Subscription and Resource group values and enter a Name value for the import/export job (we will use az104labexport). Set Type to Export from Azure and then click Next : Job details >.
- Select Source Azure region, Storage account, and Blobs to export options, and then click Next : Shipping >. The process is illustrated in the following screenshot:
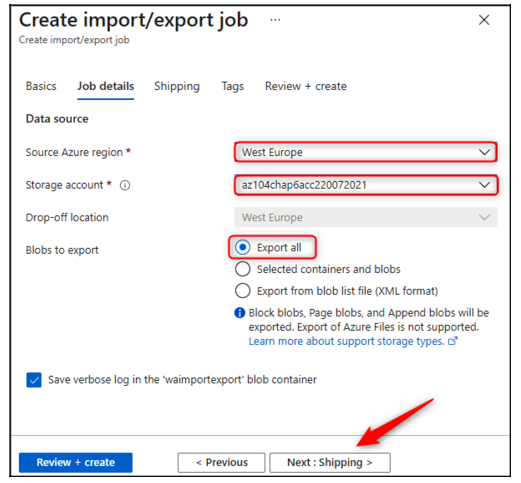
Figure 6.20 – Creating an export job
- Enter your shipping details and click Review + create.
- Once validation has passed, click the I acknowledge that all the information provided is correct and agree to the terms and conditions above checkbox, and then click Create.
